Jason Lane Dry Plate’s: PDF instructions here
Gelatin dry plate photography dates from the 1870s when silver halide photographic emulsion was hand-poured onto glass plates and allowed to dry prior to use as a negative. The development of dry plate negatives made photography more convenient than the wet plate process of the Civil War era, which required the negative to be exposed and developed onsite. With dry plate photography, the need for a portable darkroom was eliminated, making photography more accessible and allowing more people to become amateur photographers. When Kodak started producing “modern” film by coating flexible celluloid in the late 1800s, the use of glass as a substrate was rendered obsolete. Dry plate photography faded out of common use by the late 1920s.
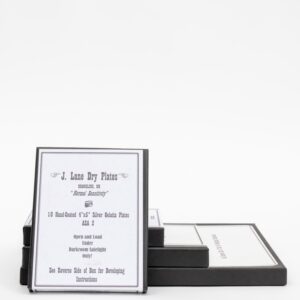
As a starting point, meter at ASA 2. Be aware that this is a “normal” emulsion, and only responds to blue and UV.
These are hand-coated onto hand-cut glass. The glass edges are ground for safety but please handle carefully. Jason notches the edge of the plate very similar to how sheet film is notched, so you can orient by feel in complete darkness if you don’t have a safelight or you just like hanging out in complete darkness.
Handle carefully during development. The emulsion is fragile while wet. It holds up well enough during the development process, but any agitation should be gentle.
You will need to acquire a plate holder (too thick for film holders). These will fit into the Chamonix Plate holders. Try them out and have fun!
Visit the manufacturer’s website here for more info on the plates: https://www.pictoriographica.com/technicals-and-tips.html


